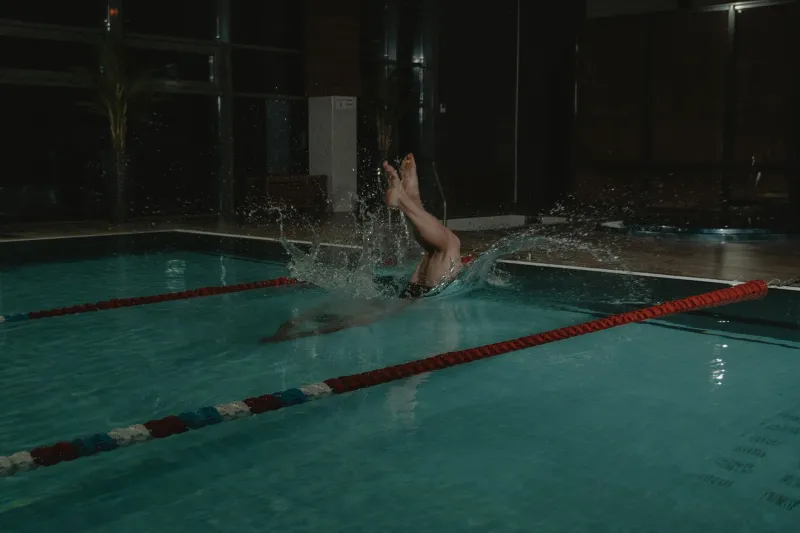
The Dry Frame: Designing the Poolside Half of a UK Underwater Set
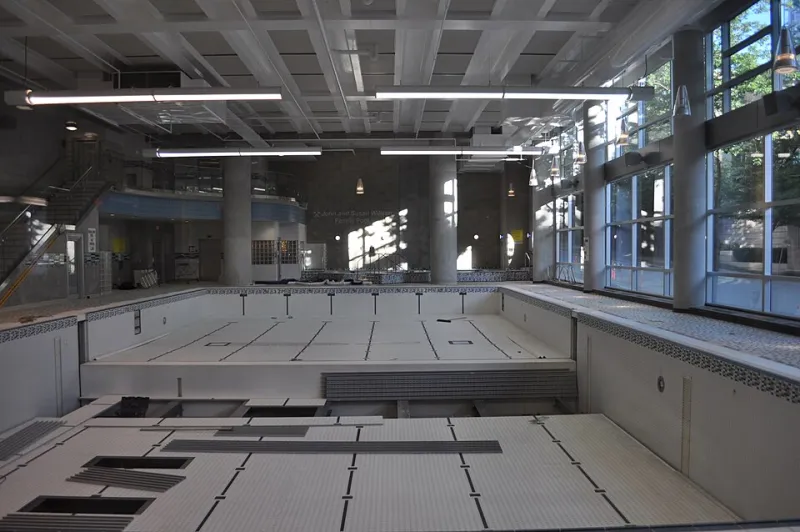
Photo: Joe Mabel, CC BY-SA 3.0, via Wikimedia Commons
Most production meetings for an underwater editorial begin with the water: temperature, clarity, depth, chlorine, the behaviour of fabric once it is saturated. These are indispensable questions. Yet the image that opens a set — and often the image that sells it — is frequently made above the surface. The poolside is not a waiting area. It is the first frame, and in UK underwater fetish work it deserves the same deliberateness as anything shot beneath the waterline.
The First Frame Is Dry
A viewer encounters the dry side before they encounter the dive. Tiles, handrails, lane markings, the lip of a tank, a folded towel on a bench: these are the visual grammar that tells an audience what kind of world they are about to enter. A municipal leisure centre in the Midlands reads differently from a private Victorian bath in Bath or a converted agricultural tank in Kent. The dry side is where that reading begins.
This is not a argument for elaborate sets. It is an argument for noticing. A changing-room door left ajar, a bright yellow wet-floor sign, a stack of plastic floats — each of these can pull an editorial out of its intended register and into something documentary and inadvertent. The dry-side plan is simply the practice of deciding which of these elements earn their place in the frame and which should be moved, covered or cropped out.
Reading the Room: Tiles, Rails and Reflections
UK pools are rarely neutral backdrops. Council-run facilities tend to offer pale blue or white tiles, stainless-steel rails and overhead lighting designed for safety rather than atmosphere. Private tanks and hired baths may offer darker surfaces, older grout, and architectural detail that photographs beautifully but demands careful handling.
A dry-side survey should record, at minimum: the colour and reflectivity of the pool surround; the position of rails, ladders and signage; the height of the ceiling and the location of windows; and the direction of any natural light. Photograph the empty pool from the angles you intend to use. It is far easier to notice a distracting fire-exit sign on a recce than through a viewfinder with a performer holding position.
Reflections are the particular challenge. Wet tiles behave like imperfect mirrors, and a low camera angle will often capture the ceiling, the lighting rig or the photographer's own silhouette. Where reflection cannot be eliminated, it can be composed: a deliberate mirror line across the lower third of the frame can feel intentional, while a stray reflection of a fluorescent tube does not.
Surface Glare and the Problem of the Ceiling
Glare is the dry side's quiet saboteur. Overhead lighting that is perfectly adequate for swimming can produce blown highlights on rippling water and hard shadows on a performer's shoulders. The solution is rarely more light; it is usually repositioned light. Diffusers, bounce cards and a careful choice of camera height will do more for a poolside frame than an additional strobe.
The ceiling matters more than many producers expect. It is the largest reflective surface in most indoor pools, and it determines the quality of light falling on the water. A low, dark ceiling will compress the space and flatter skin tones; a high, bright ceiling will open the frame but may introduce unwanted bounce. If the ceiling cannot be changed, it can be accounted for in the exposure plan and in the choice of lens.
Dry-Side Styling as Continuity
The dry side is also where wardrobe and styling establish their logic. A fetish editorial that begins with a performer in a heavy coat, boots and harness, then cuts to a submerged frame in a single piece of latex, needs the transition to feel like a decision rather than an error. Dry-side styling should anticipate what the water will do to fabric, colour and fit, and it should leave visible evidence of the change: a discarded garment on a rail, a towel on the tiles, the ordinary objects that make the descent feel chosen.
This is particularly important in UK work, where the poolside often carries a institutional, almost clinical atmosphere. A deliberate dry-side still life — a folded garment, a pair of boots placed with care, a rope coiled on the tiles — can do more narrative work than any amount of underwater choreography. It signals that the space has been arranged, not merely occupied.
Choreographing the Entry
The transition between air and water is the most under-rehearsed moment in many underwater shoots. A performer who simply walks to the edge and steps in gives the camera nothing to hold. A performer who pauses, adjusts a strap, looks back at the dry side and then enters the water gives the editor a seam.
The dry-side plan should therefore include a simple entry sequence: where the performer starts, what they touch, how they turn, and at what point the camera commits to the water. This need not be elaborate. A hand on a rail, a foot on the top step, a held glance towards the light — these are small gestures that make the cut between above and below feel intentional.
A Checklist for the Dry Half
Before the first underwater frame is made, the dry side should be settled:
- Confirm the poolside survey has been completed and reference photographs circulated.
- Remove or cover signage, floats and equipment that do not belong in the editorial register.
- Decide where reflections will be permitted and where they will be blocked.
- Test overhead lighting for glare on the water surface and adjust height or diffusion.
- Agree the entry sequence with the performer and the camera operator.
- Place dry-side styling objects deliberately, not decoratively.
- Brief everyone on the route between dry and wet positions.
The dry side is not a prelude to the real work. It is half the set, and in a well-run UK underwater production it is planned with the same care as breath, buoyancy and the final frame beneath the surface.